|
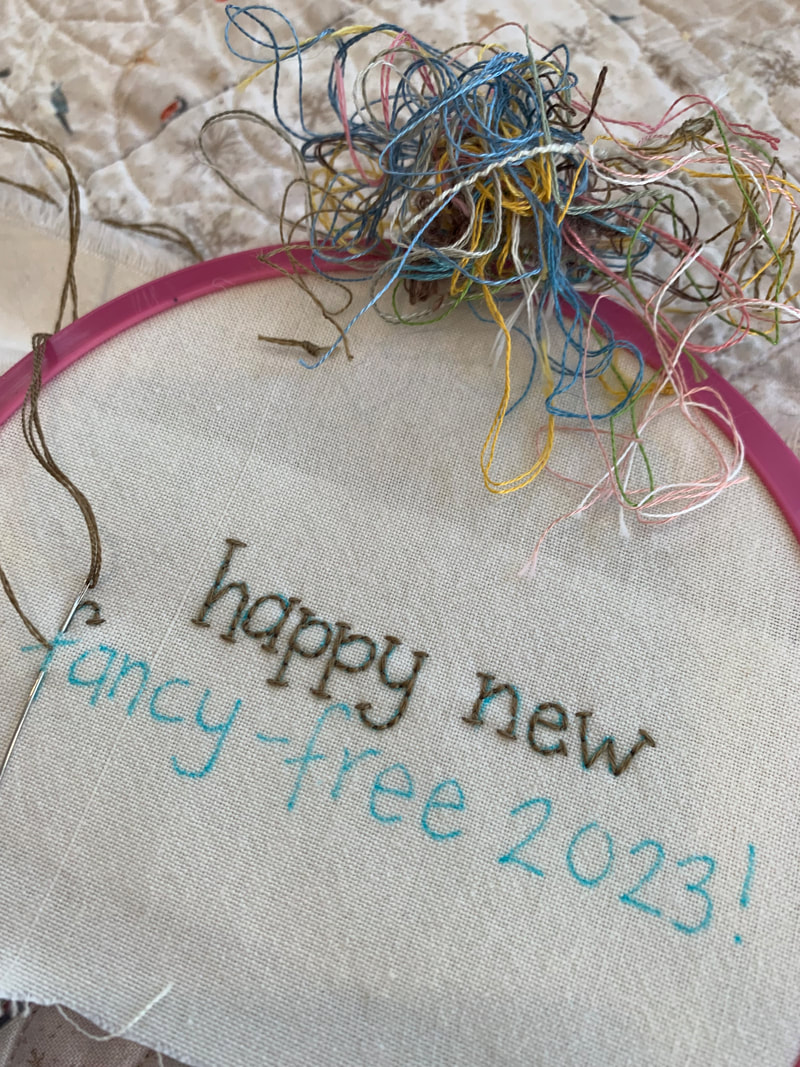
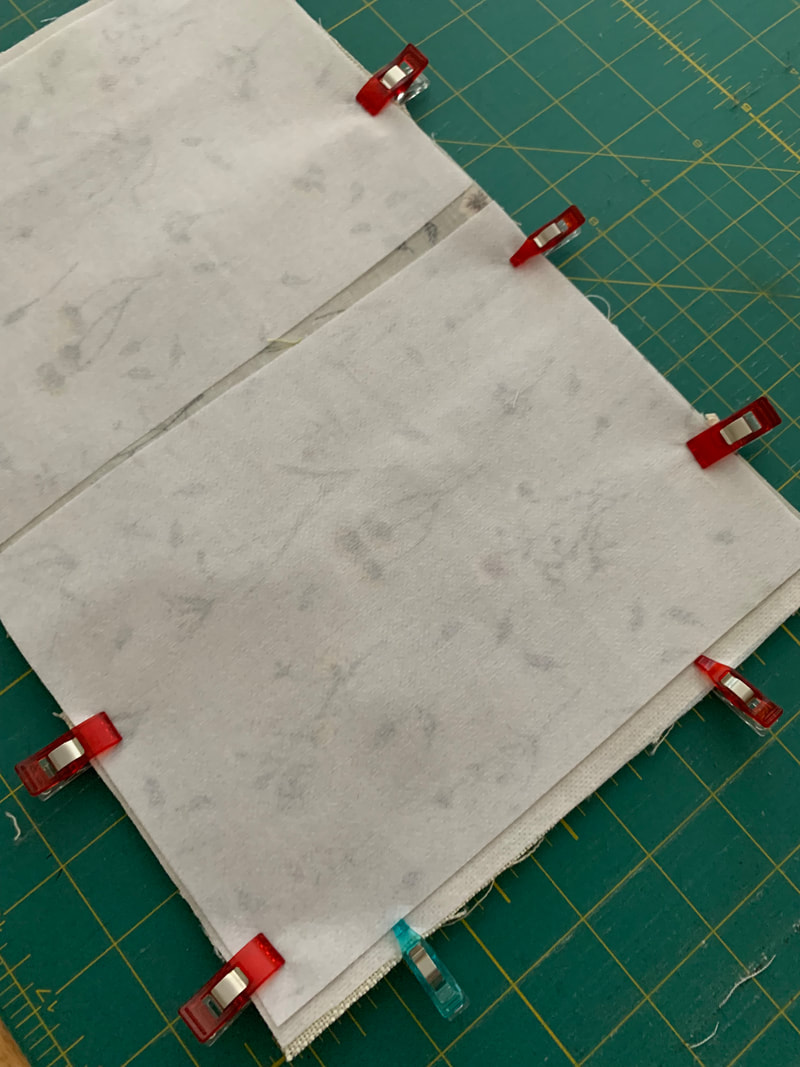
Happy New Year! Below I have assembled steps for making this year's New year stitchery. I hope it helps start your new year off full of inspiration and confidence. 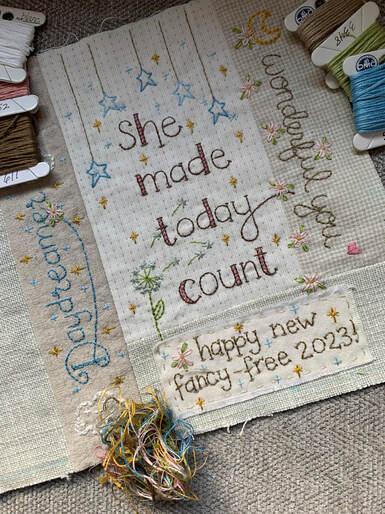 After cutting and sewing your
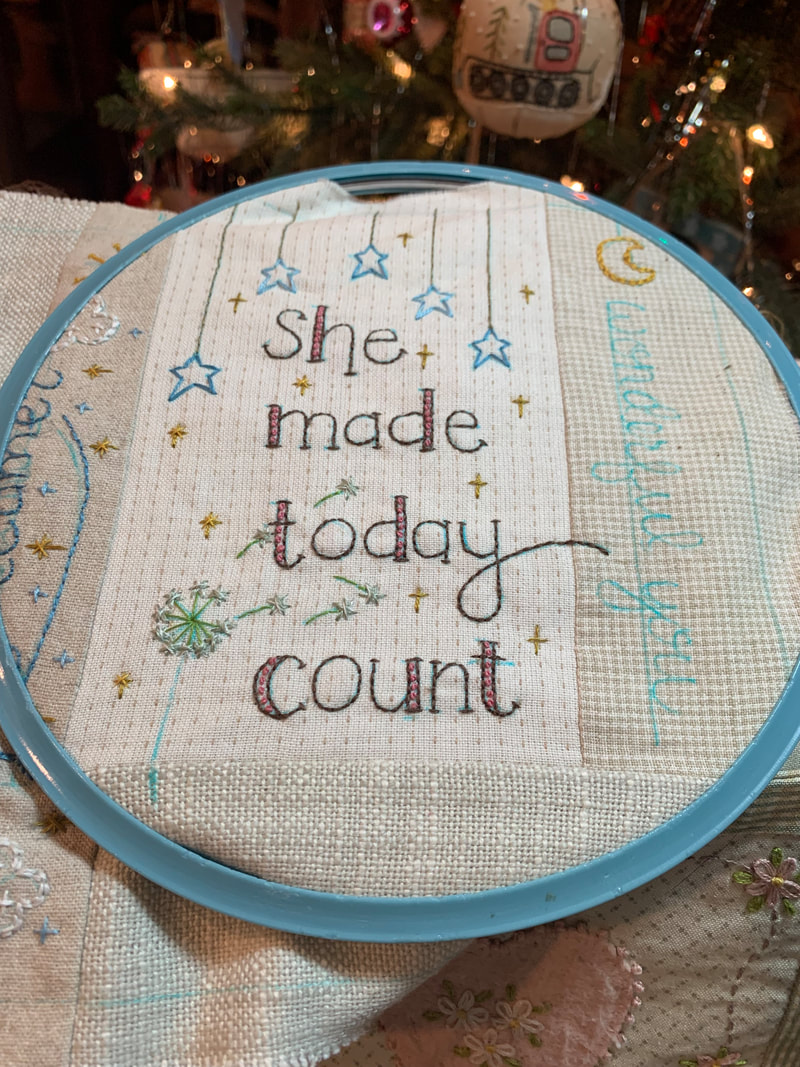
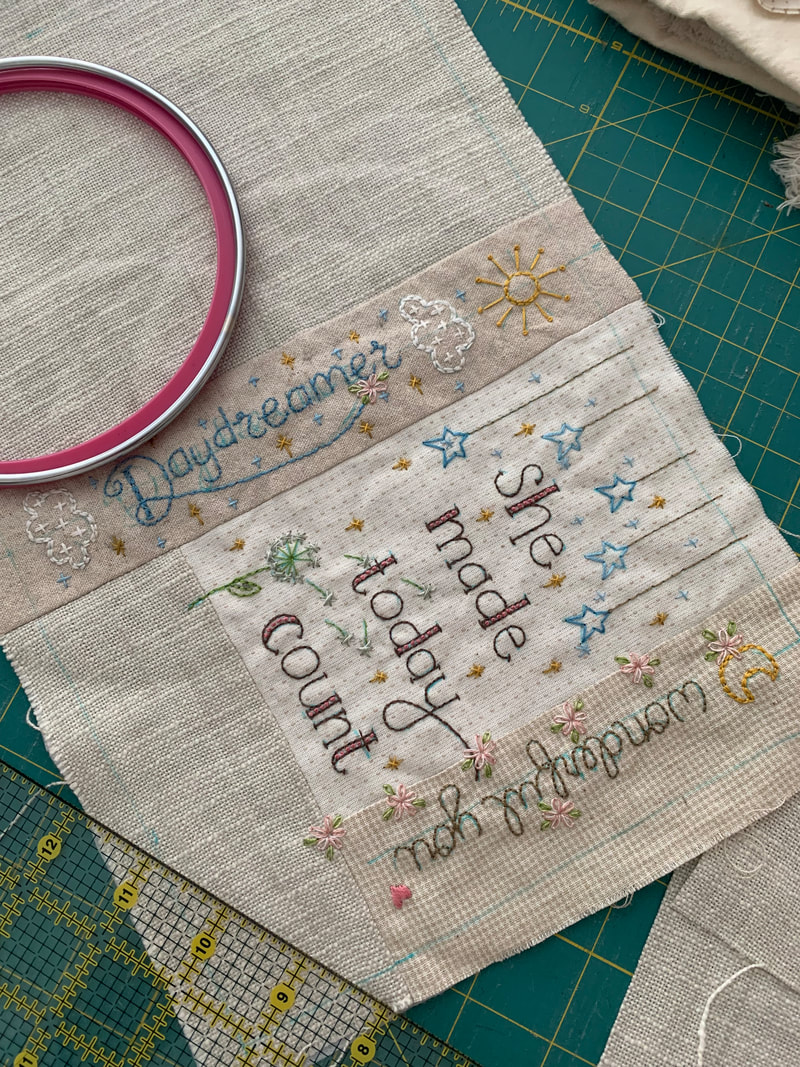
Embroidery work on the front cover is almost done. I need to make the little tag for the bottom piece #3. I think I may have left off some of this instruction on the download. I was rushing to get this pattern out before leaving on a little trip to ring the New Year. I cut a neutral "tag" to embroider. You can see here, I traced the words and will cut it later. After doing embroidery and cutting, I frayed the edges a bit. Then I put it in its spot and with a single strand of lighter brown floss (DMC 611). Just a simple running stitch was sweet and effective.
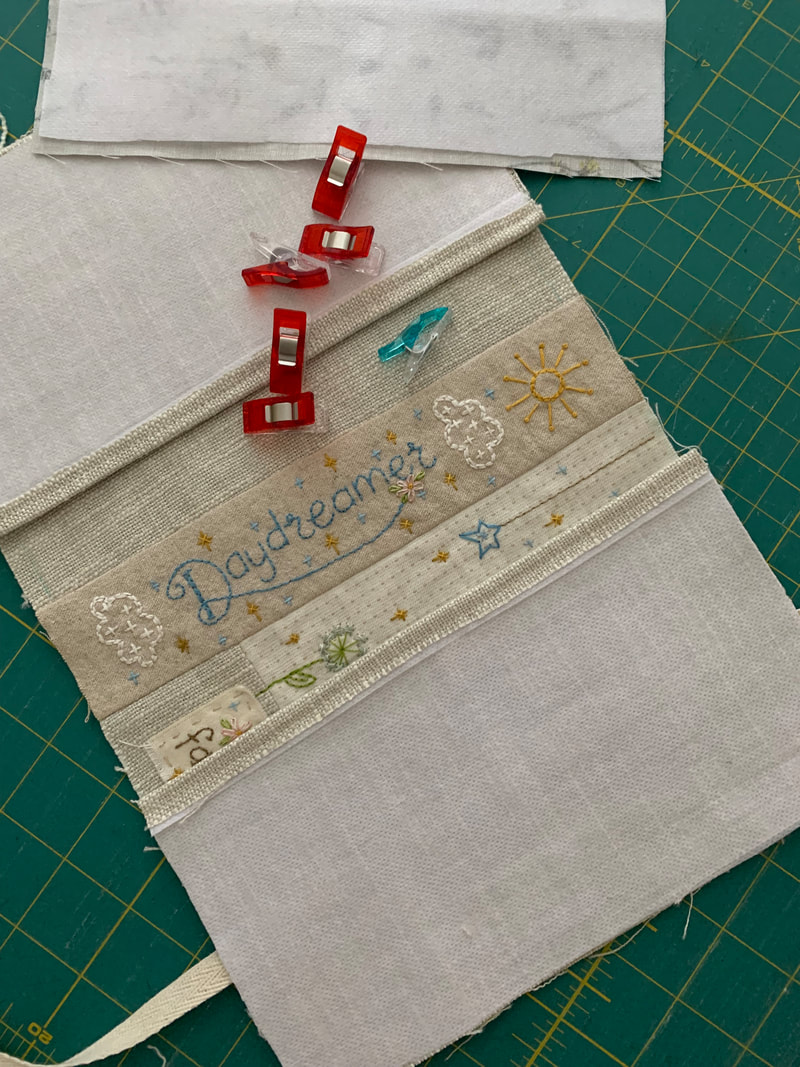
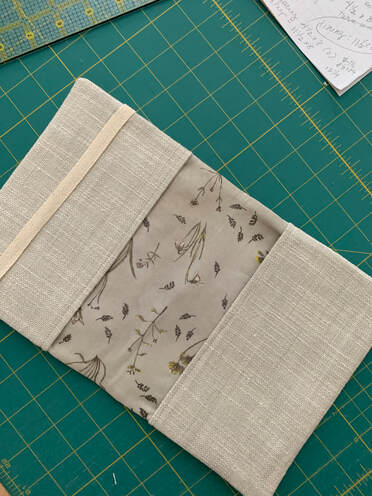
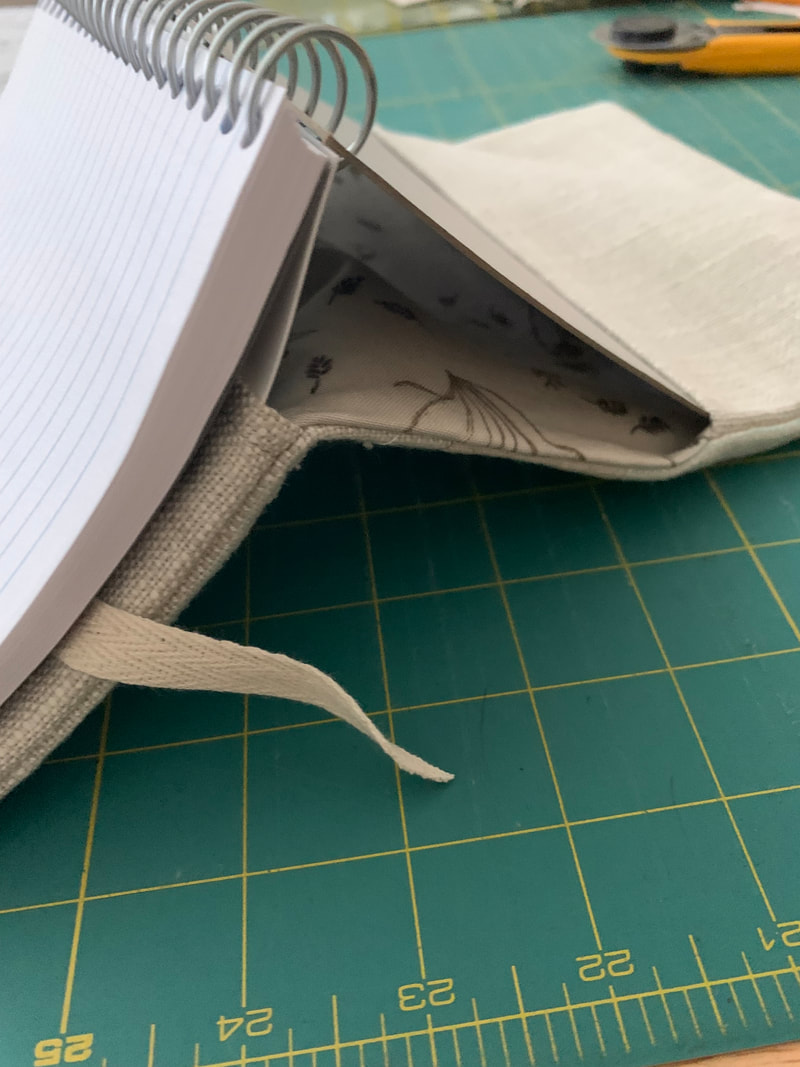
 Almost done. Clip all corners. Then reach into the gap left on the side of the lining. Pull everything out. Fold pocket flaps right side out and towards the lining. I used a chopstick to push my corners out. Press well. Here are the pockets pressed towards the inside. And, a little peek at the technique I find best to put your notebook cover and back into the pockets. Fold it backwards almost like a tent. Slip it in one at a time.
Done! Ready to fill with musings, stories, memories, doodles, drawings, and dreams. I wish you a wonderful 2023. Happy Stitching, Barri Sue Gaudet 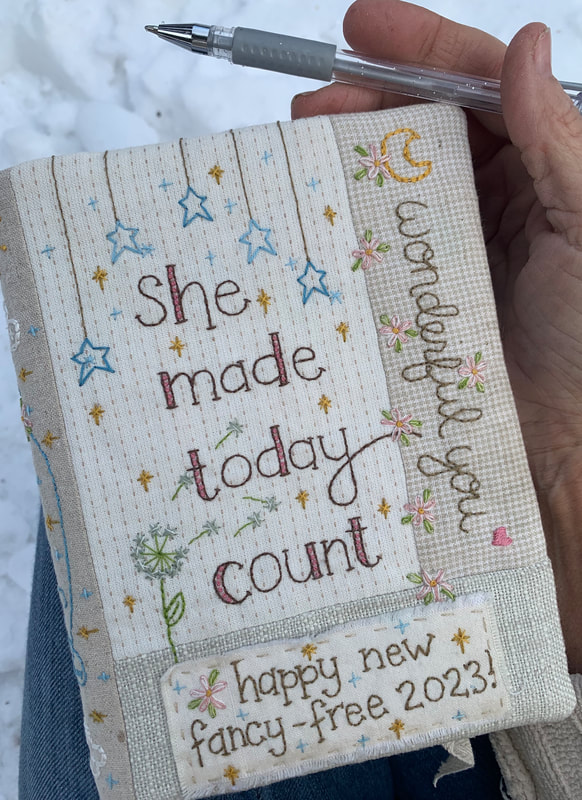
2 Comments
Michele Combs
5/9/2023 12:00:49 pm
How do I purchase this pattern? I would love to make this for my daughter as she is graduating from nursing college.
Christie Seyler
11/4/2023 04:33:59 am
Where do I find this design Leave a Reply. |
AuthorBarri Sue Gaudet designer for Bareroots, stitcher, mom and grandma, friend, hiker, quilt and knitting shop owner, and now, blogger. Archives
|
 RSS Feed