|
Happy New Year! Below I have assembled steps for making this year's New year stitchery. I hope it helps start your new year off full of inspiration and confidence. 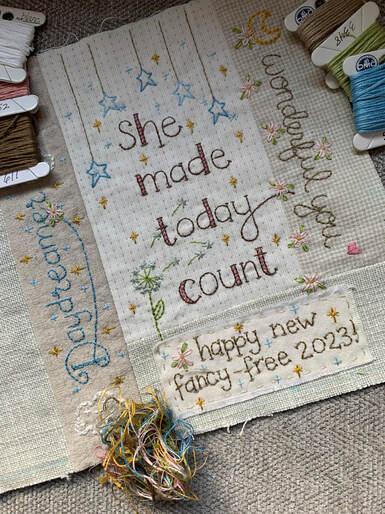 After cutting and sewing your
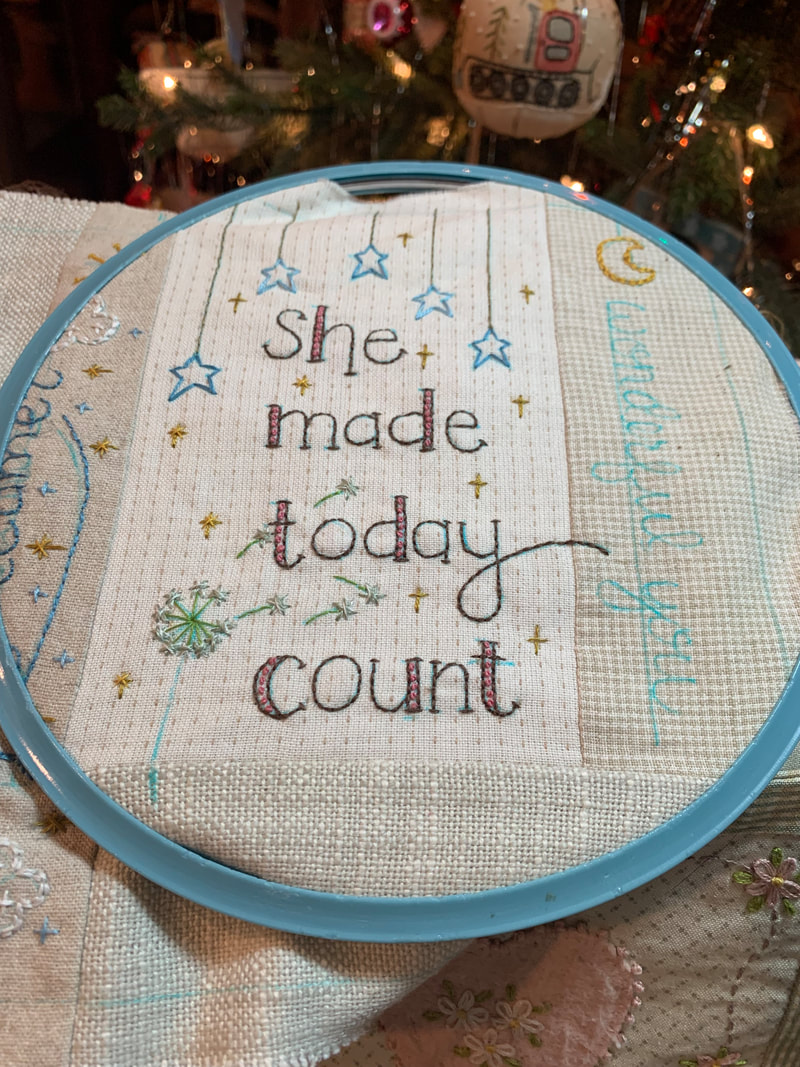
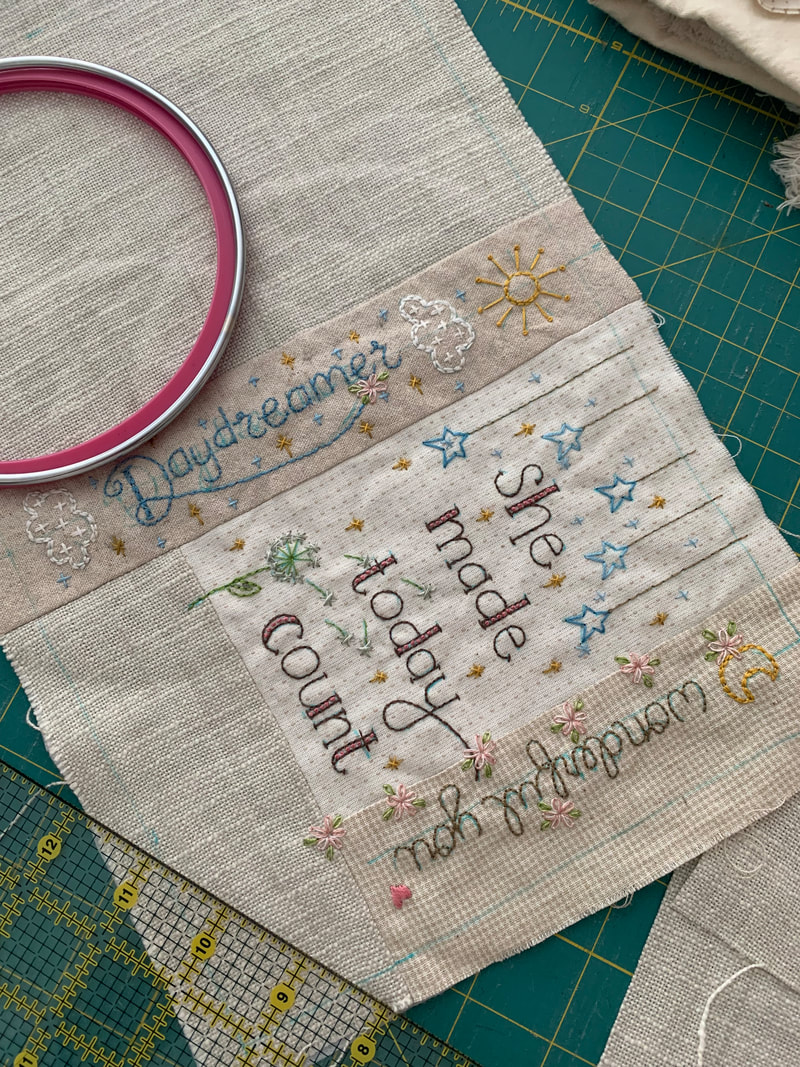
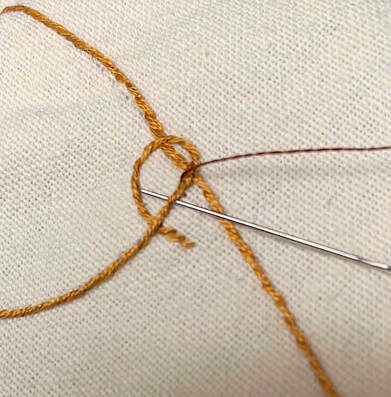
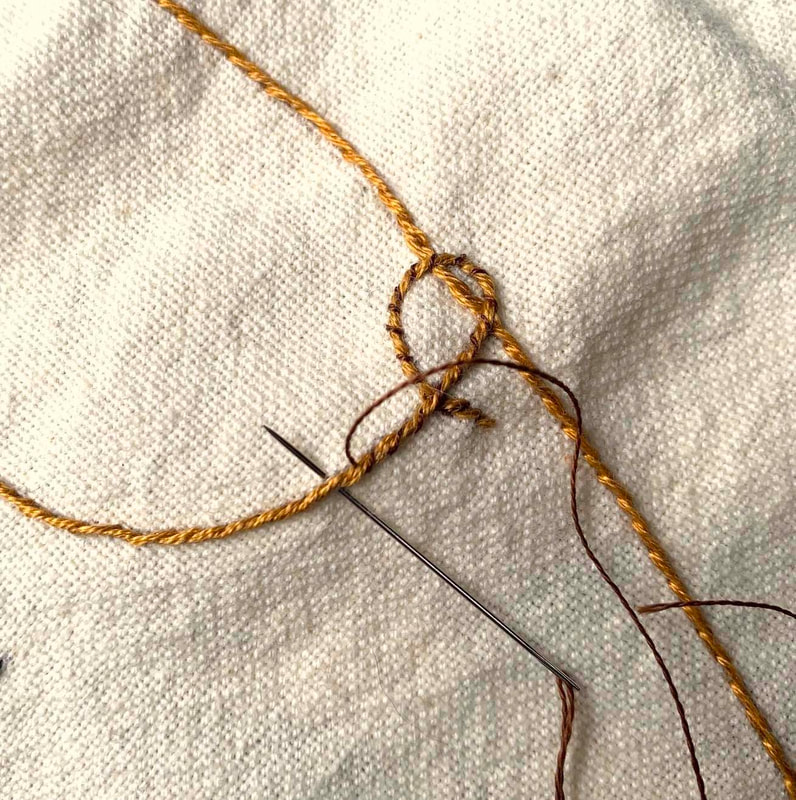
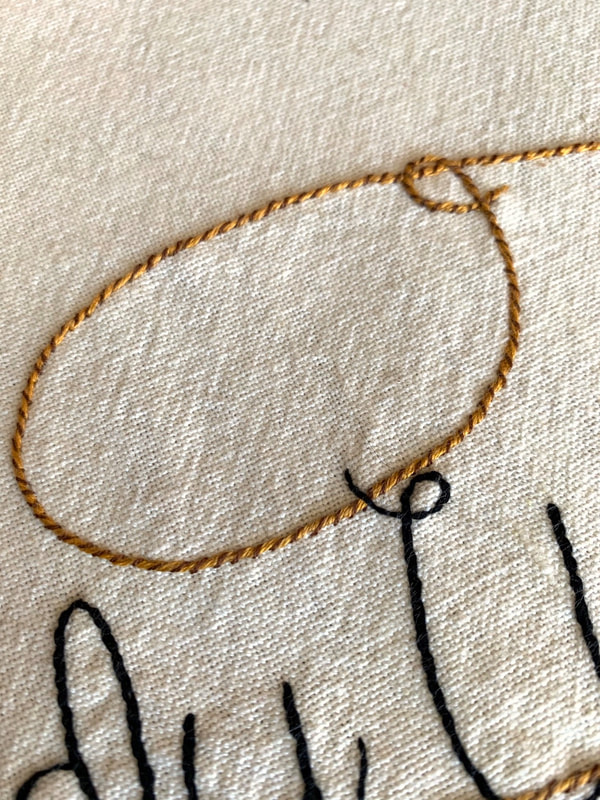
Embroidery work on the front cover is almost done. I need to make the little tag for the bottom piece #3. I think I may have left off some of this instruction on the download. I was rushing to get this pattern out before leaving on a little trip to ring the New Year. I cut a neutral "tag" to embroider. You can see here, I traced the words and will cut it later. After doing embroidery and cutting, I frayed the edges a bit. Then I put it in its spot and with a single strand of lighter brown floss (DMC 611). Just a simple running stitch was sweet and effective.
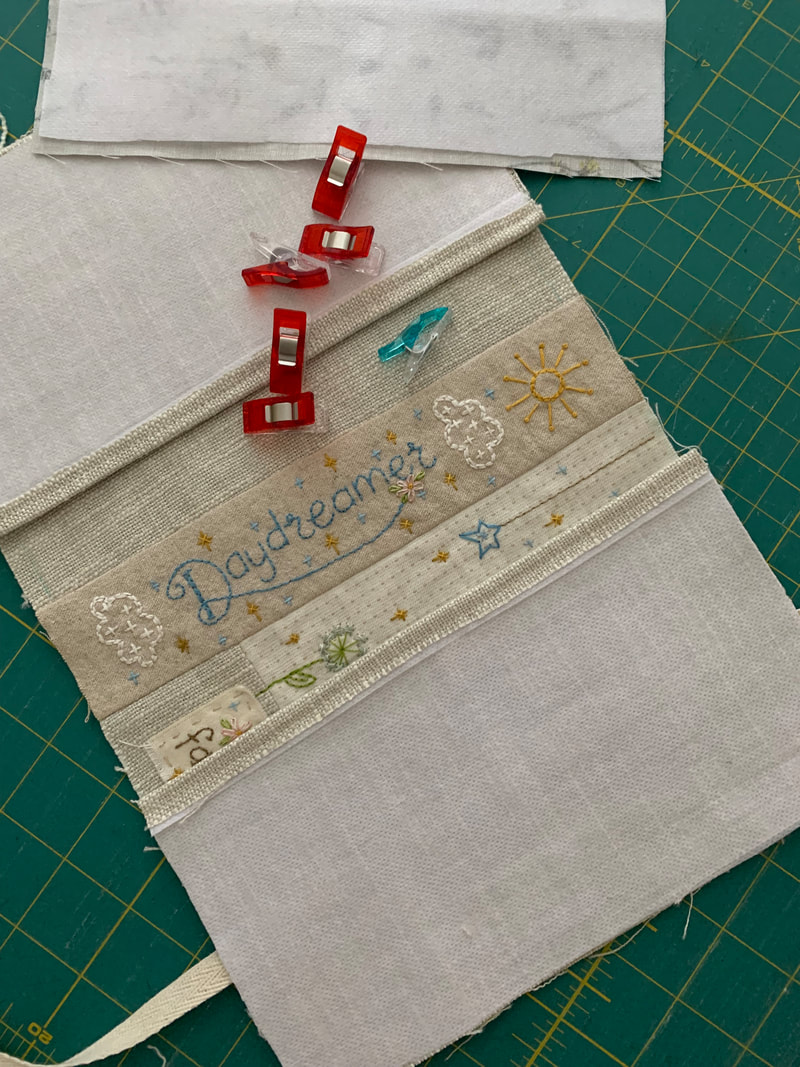
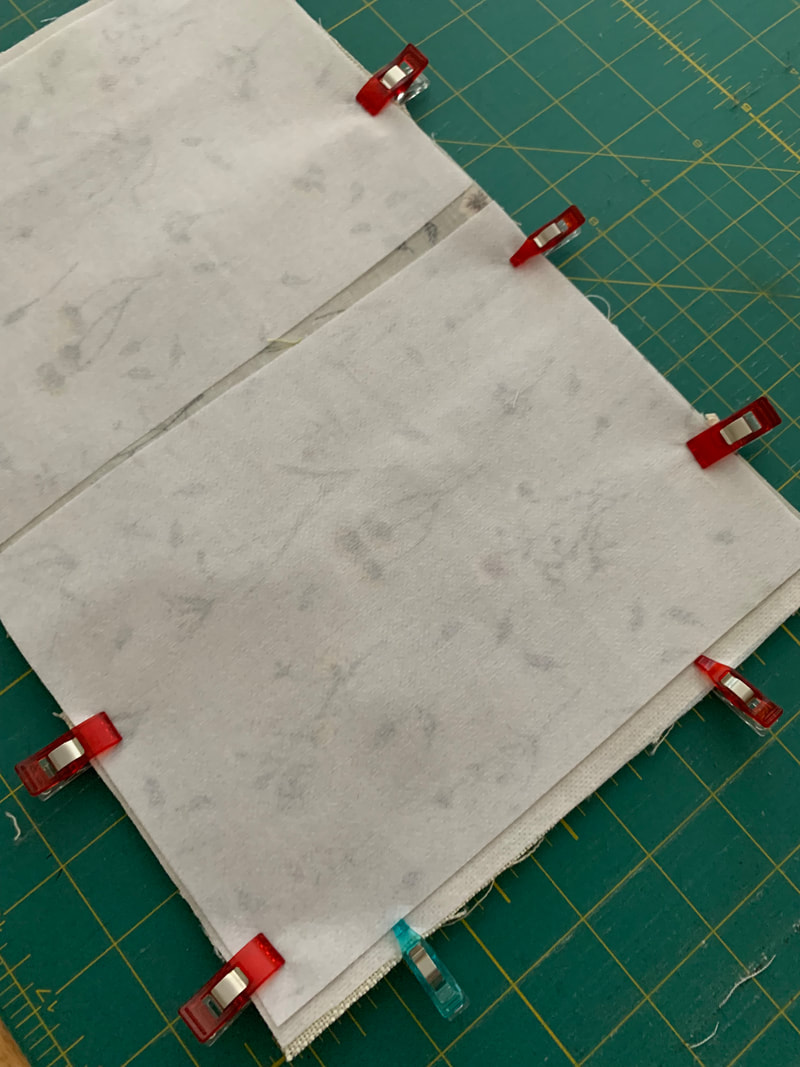
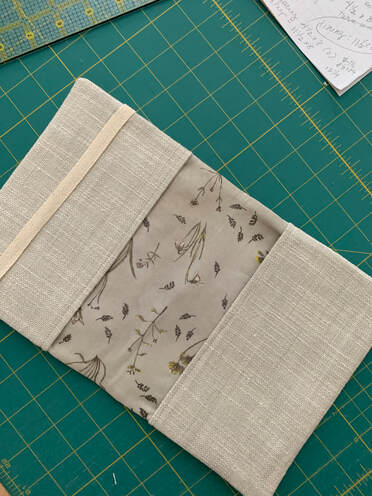
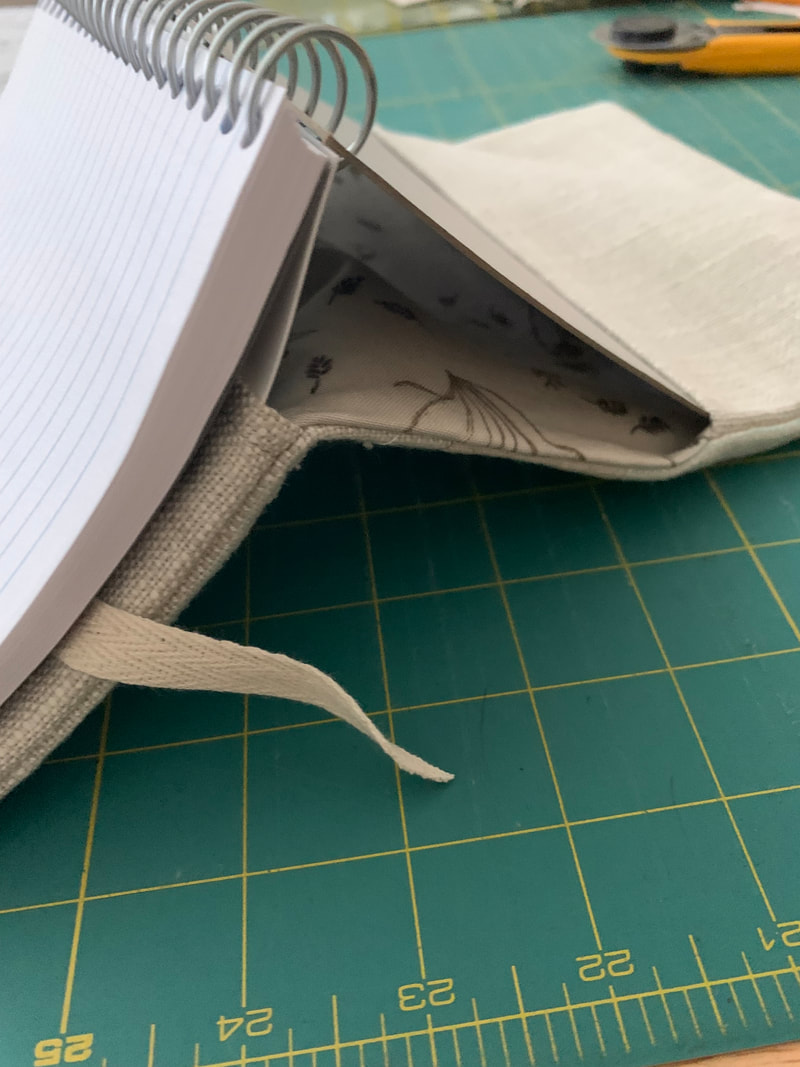
 Almost done. Clip all corners. Then reach into the gap left on the side of the lining. Pull everything out. Fold pocket flaps right side out and towards the lining. I used a chopstick to push my corners out. Press well. Here are the pockets pressed towards the inside. And, a little peek at the technique I find best to put your notebook cover and back into the pockets. Fold it backwards almost like a tent. Slip it in one at a time.
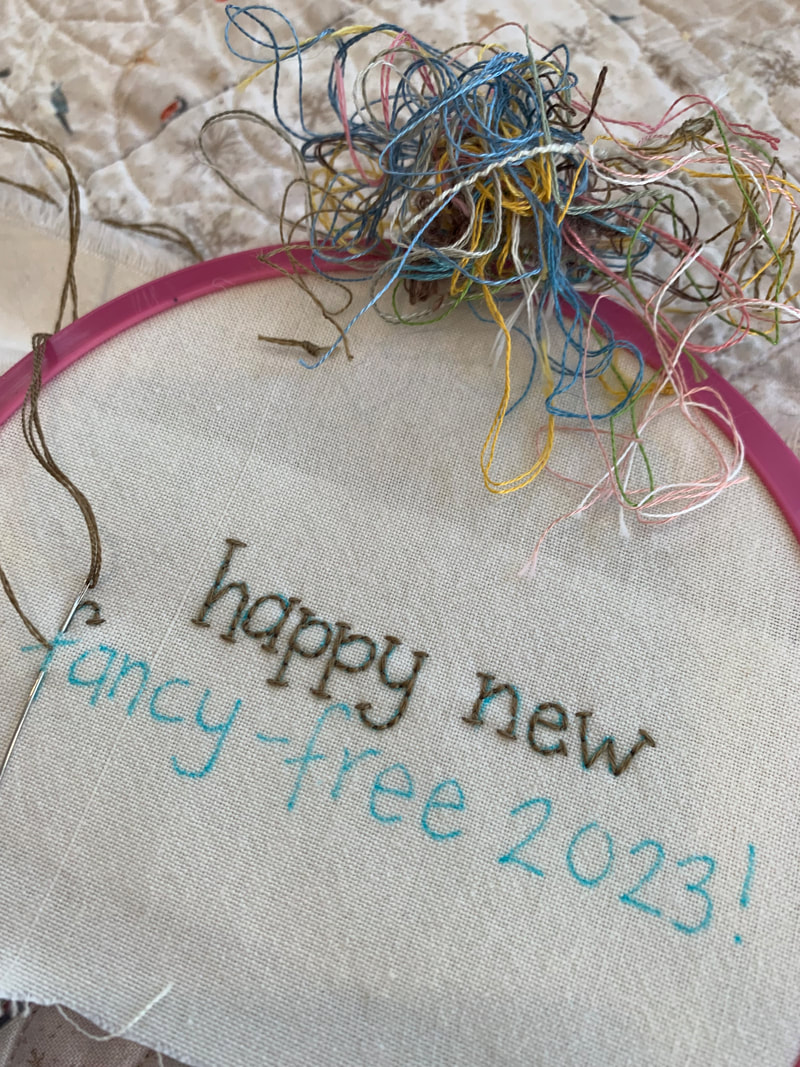
Done! Ready to fill with musings, stories, memories, doodles, drawings, and dreams. I wish you a wonderful 2023. Happy Stitching, Barri Sue Gaudet 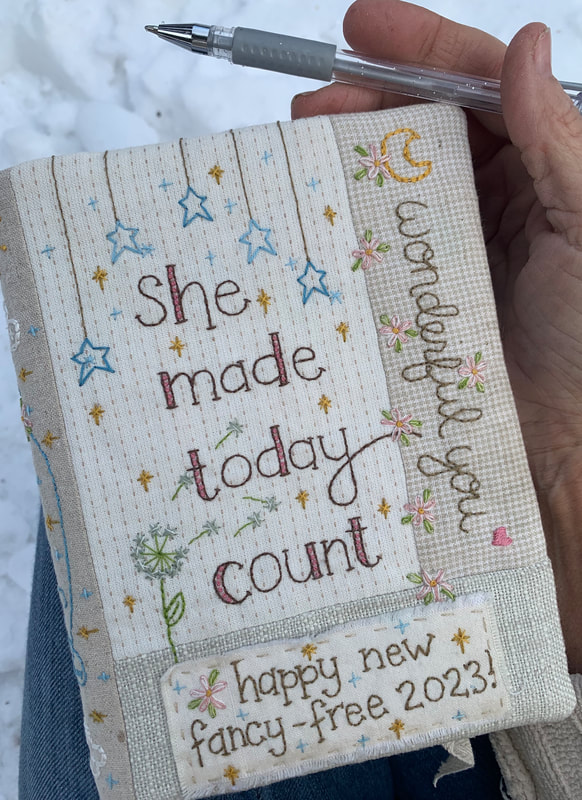
2 Comments
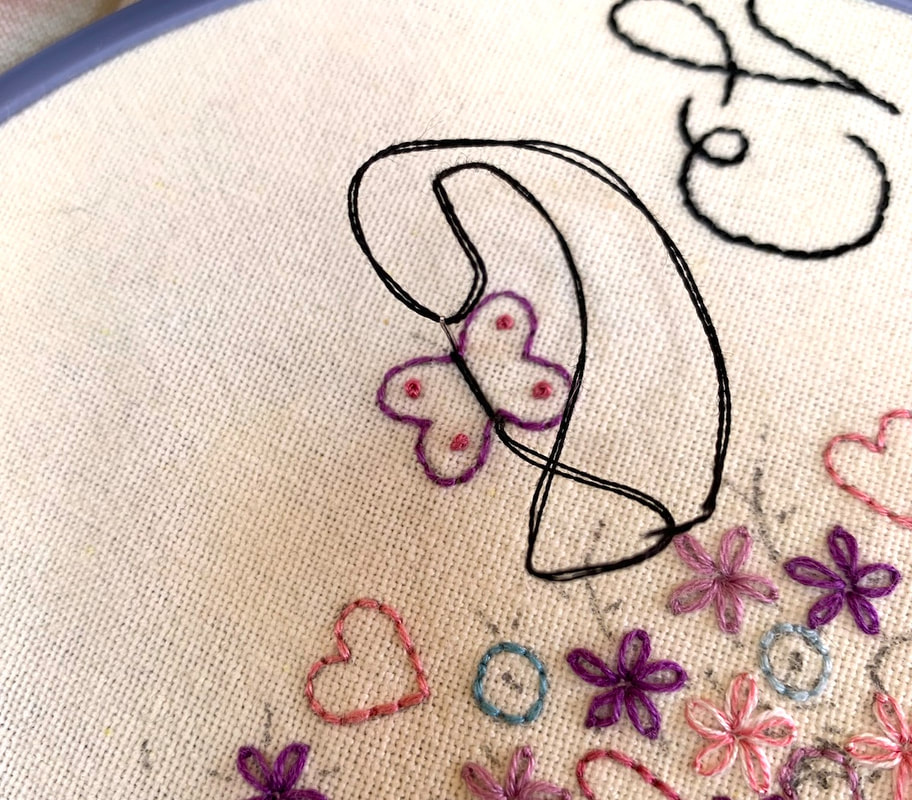
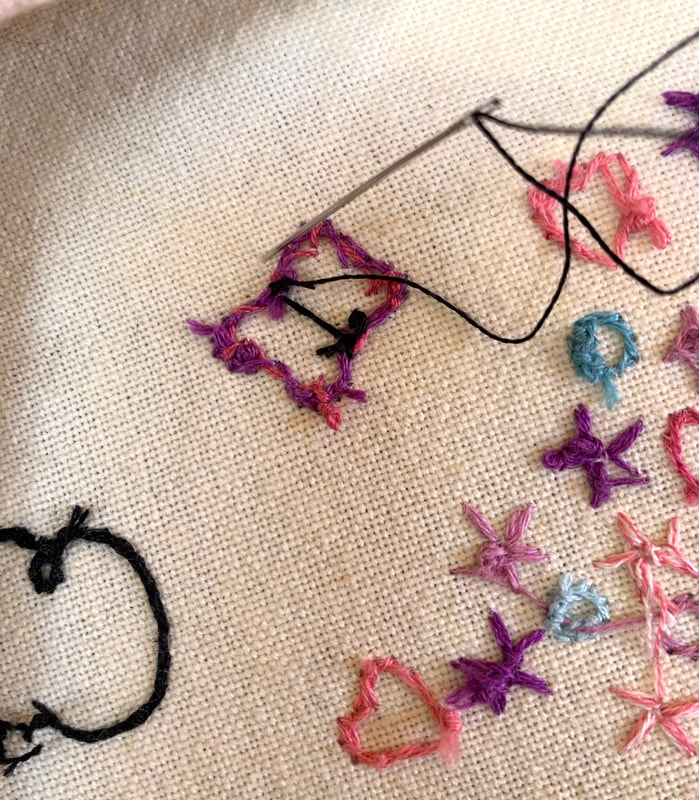
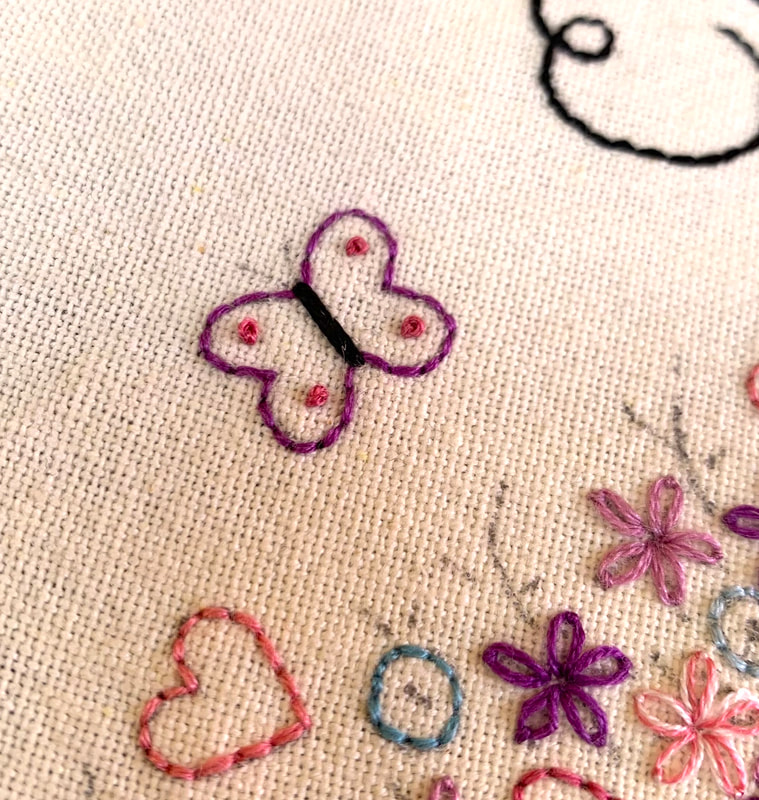
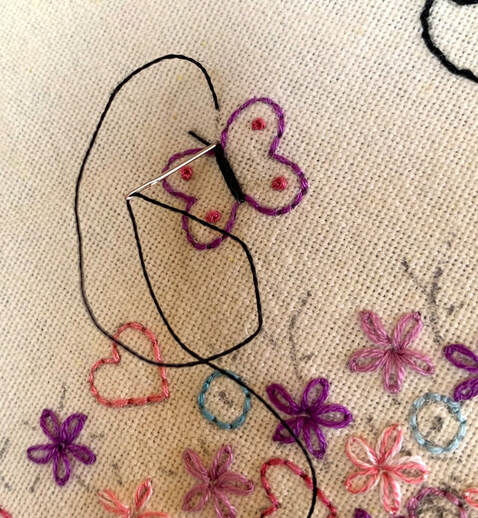
Click on the video below. Couching and a quick peak of my back. A chance to see my first draft drawing and little bit messy back!
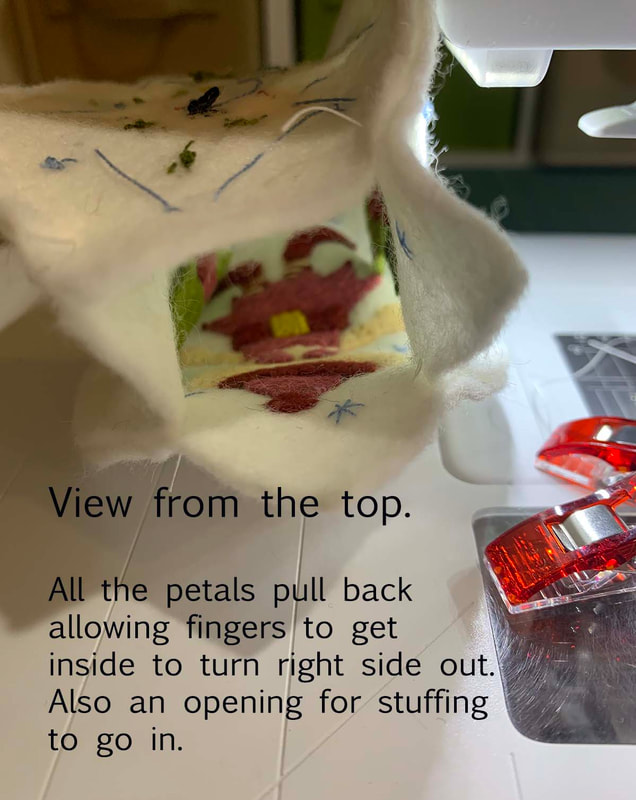
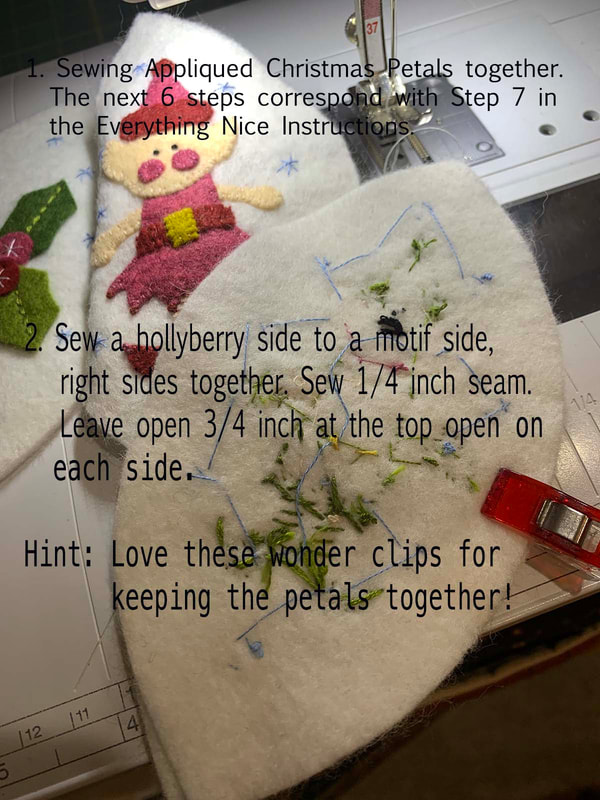
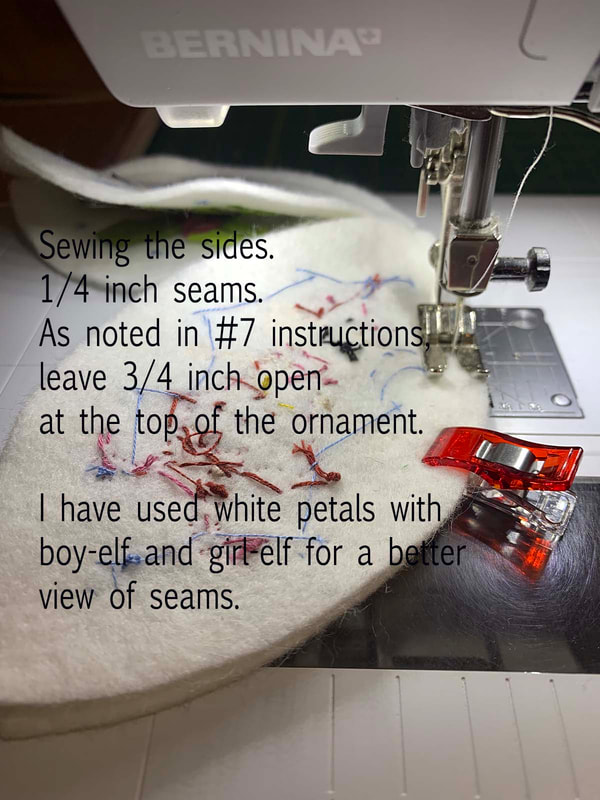
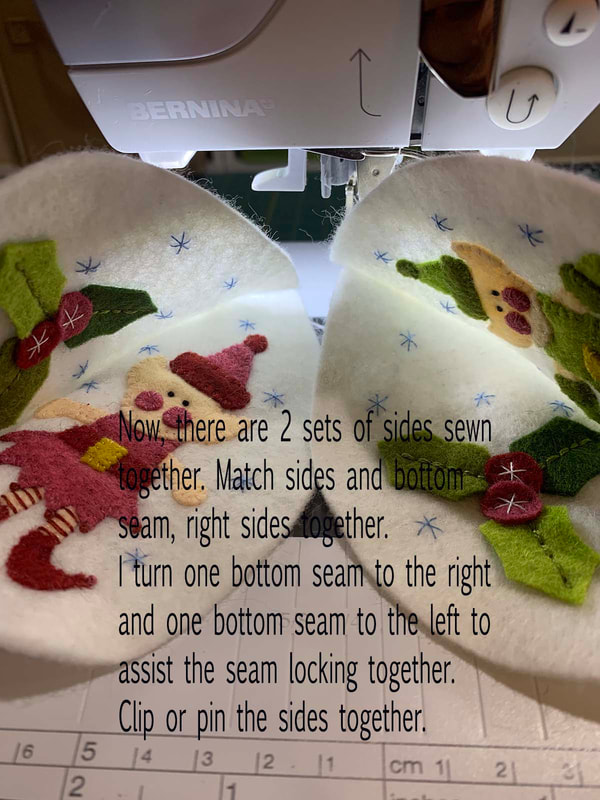
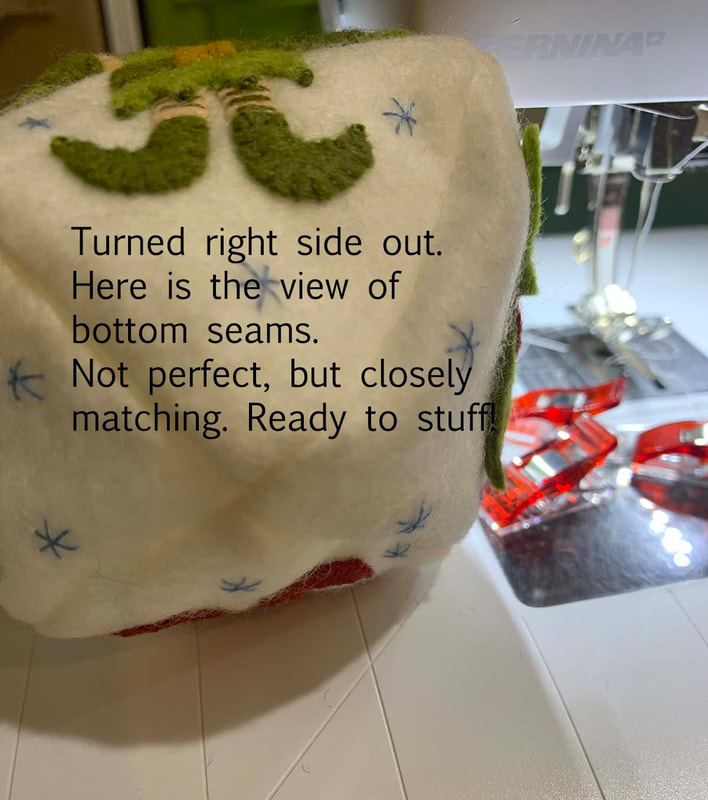
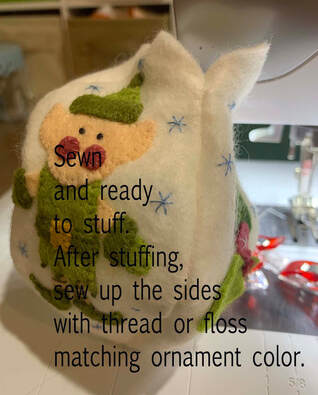
I did not couch every bow. Only the ones with larger loops. The little ones seem to stay in place very well. I hope you have enjoyed this little primer on couching. Wishing you a Happy and Joyful New Year! Barri Sue Gaudet 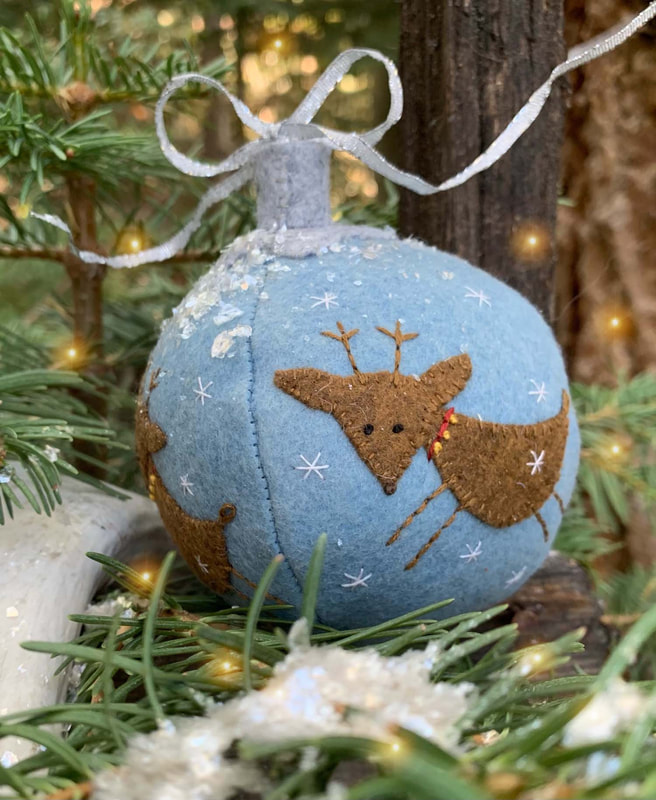 I have assembled some tips and hints for making Everything Nice Christmas Ornaments. I enjoyed making these very much. They are easy to make but, I have discovered a few hints for making them even easier. I have hints for Sweet Stitched Easter Eggs in an older blog. Easter Egg hints cover freezer paper template making and appliqué. This tutorial covers in more detail sewing and finishing the ornaments. Follow along. I hope these ideas help you become a confident maker. Barri Sue Gaudet 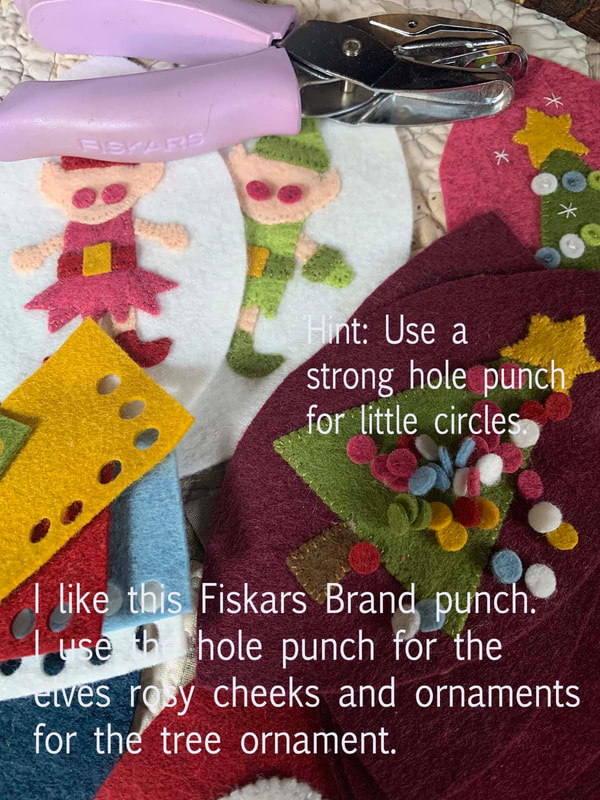
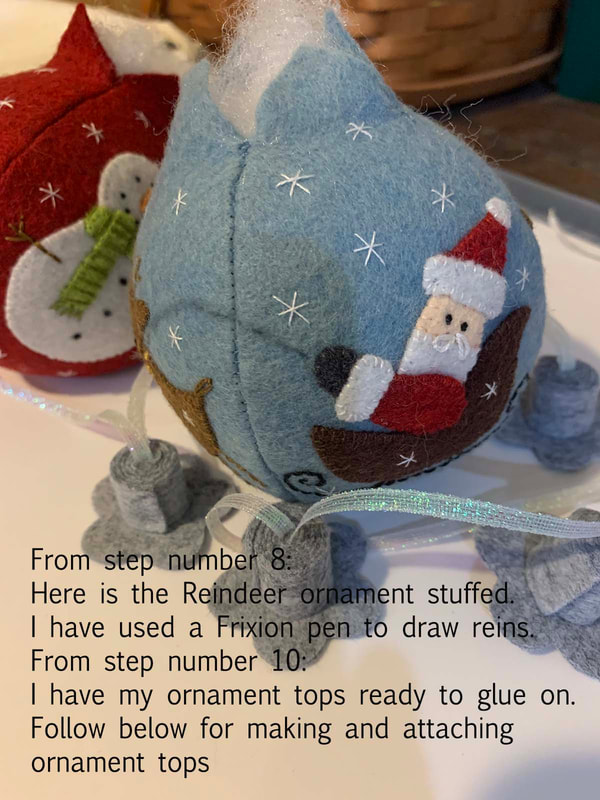
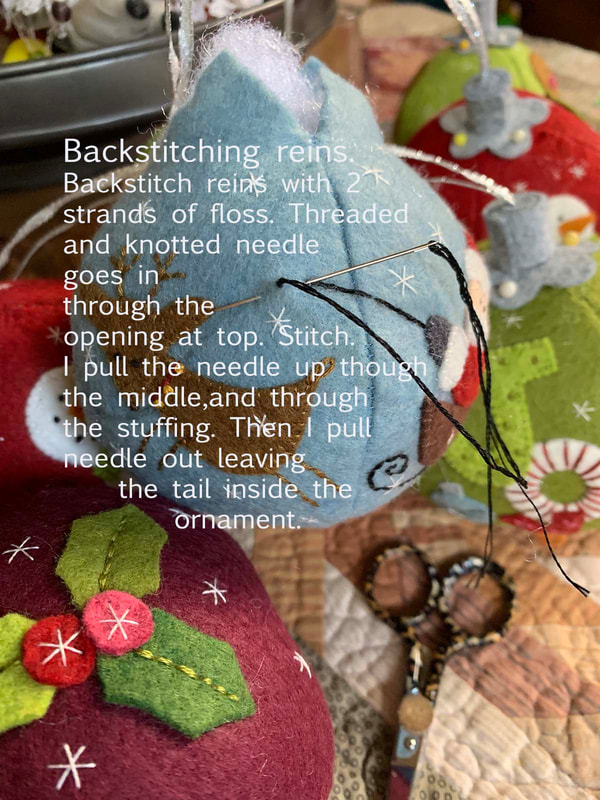
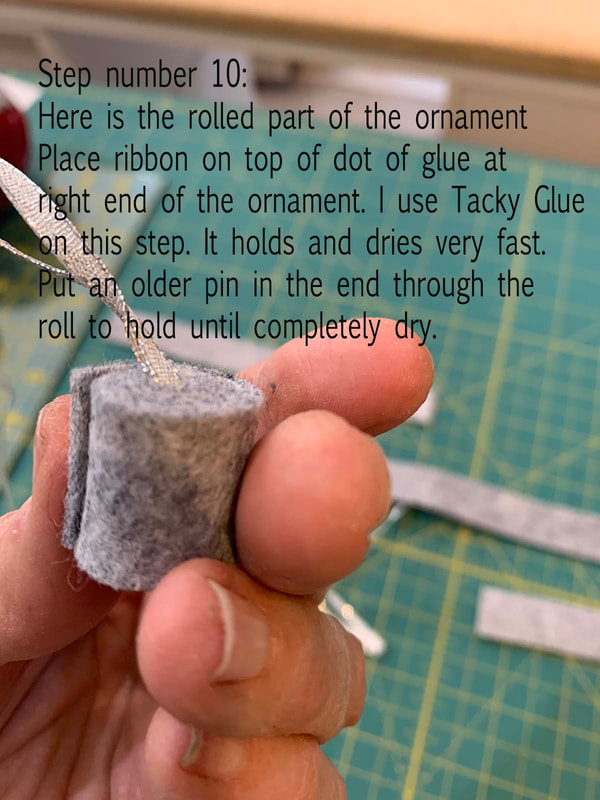 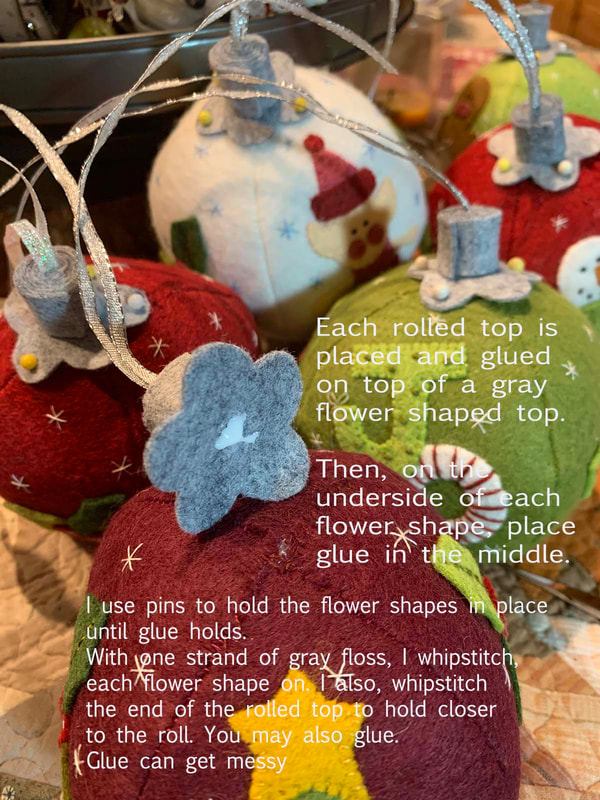 In the photo of the finished Santa and Reindeer Ornament, you can see my stitches closing up the end of the rolled part of the ornament top. I prefer stitching this rolled top to glueing.
These ornaments are fun, and versatile. I hope you enjoy making these and creating many different variations. Look for more designs coming for the 2022 Christmas season. :) Enjoy!
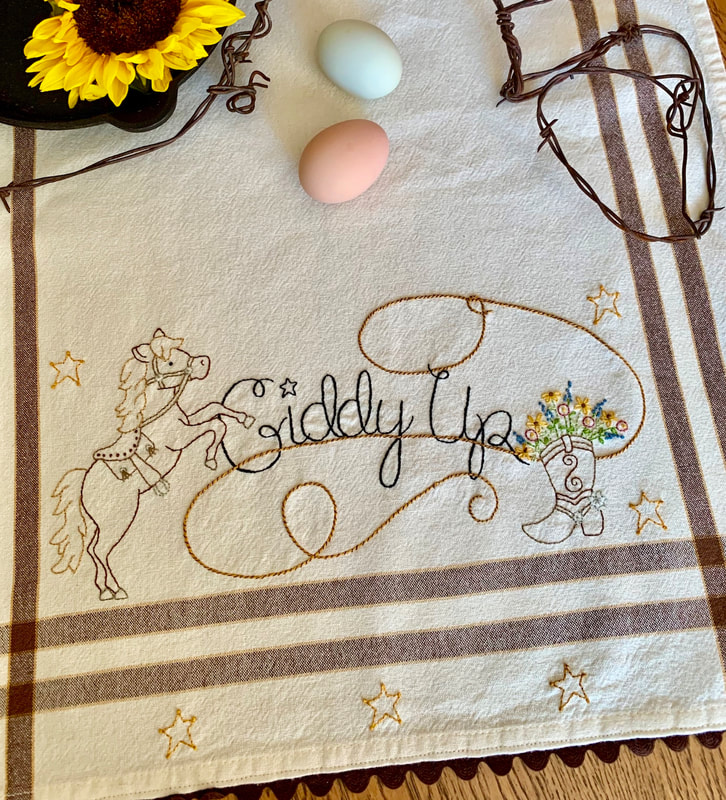 I really had a lot of fun stitching this lasso. I hadn't stitched anything like this before. I really liked how it turned out. If you are reading this blog and want to stitch up this towel look for Giddy Up Pattern or Kit in "Embroidered Toweling" category on this website. Giddy up and let's start stitching.
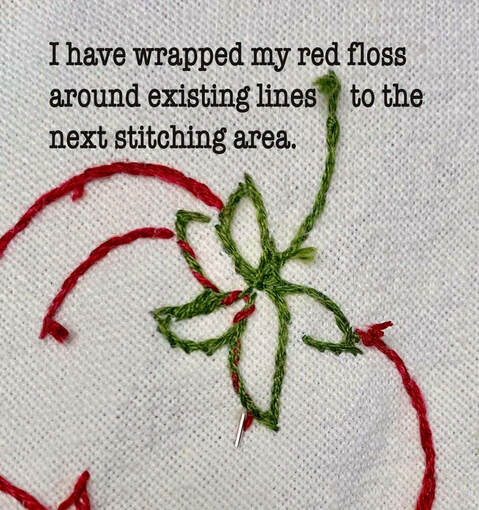
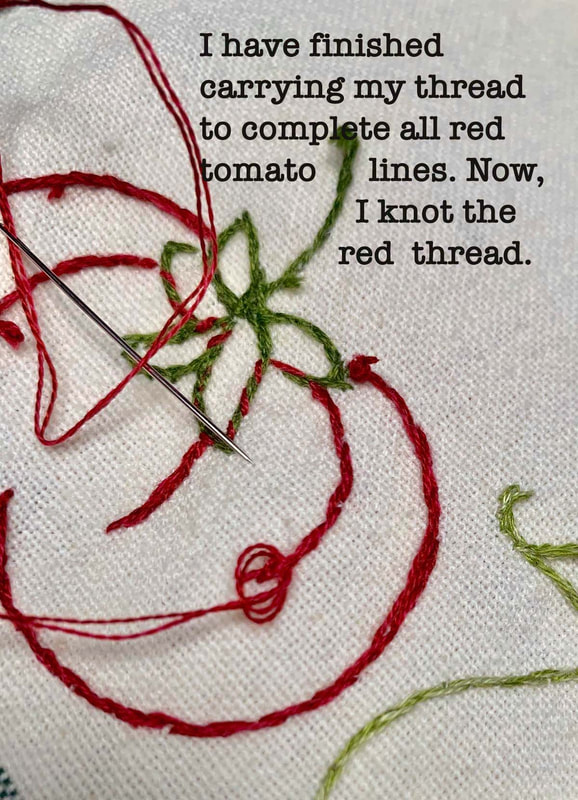
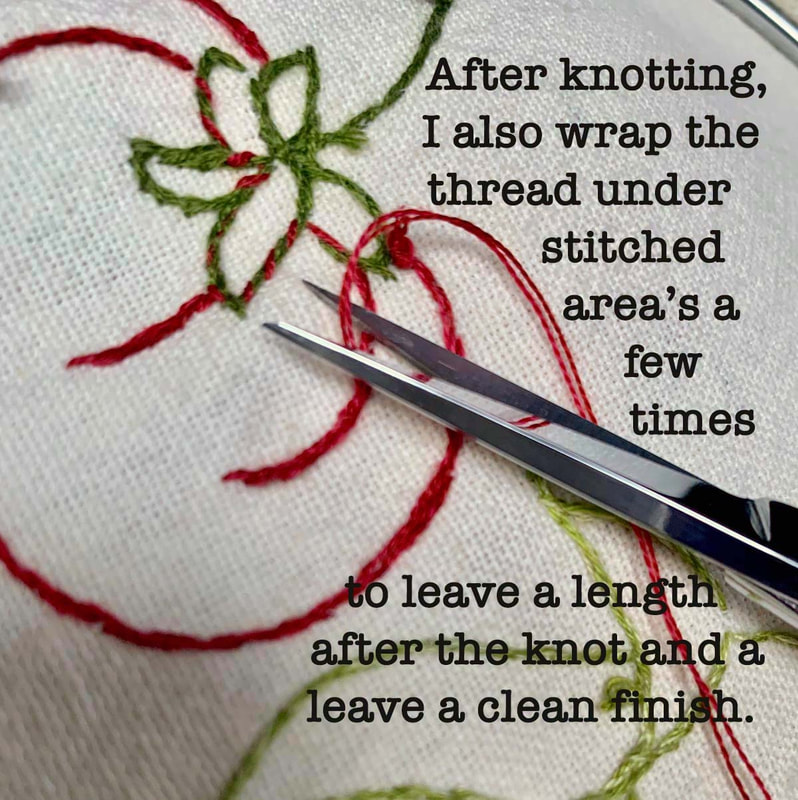
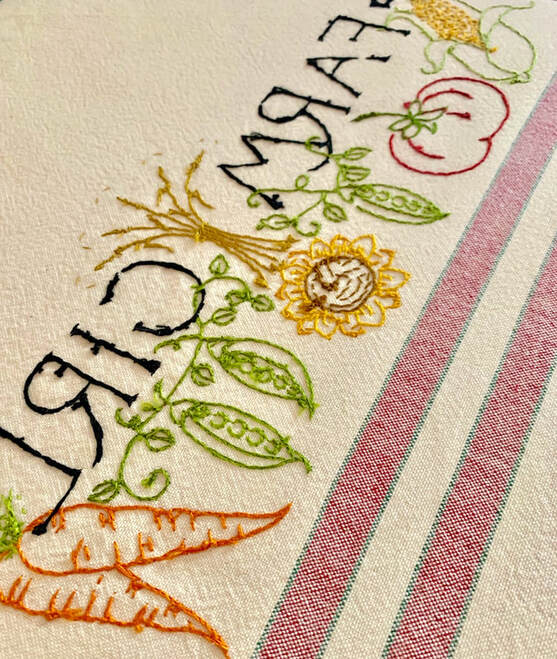 Hello from the backside! I often get asked about how to finish the backs of my embroidered dishtowels. While I do try to make the backside neat, it is not as neat as the front. There is an old adage, "Make the back as neat as the front". Not sure how to achieve this perfection as I am self taught, but here are my tricks to carry threads and neaten up my knots. This view is from the backside of "Farm Girl" Embroidered Dishtowel. 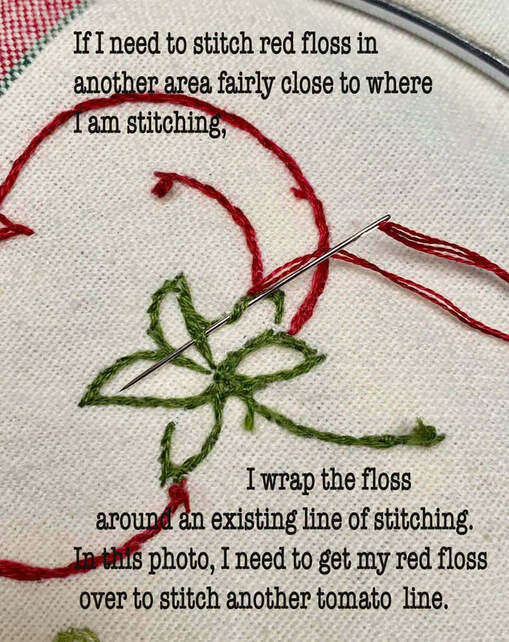 In these photo's, I am finding a path to bring my thread to the next crevice line in my stitched tomato. I don't want to knot and start my thread again. It is only a 1 inch to my next stitching line. But, I do not want to carry the thread across the back. This causes potential pulling and looks messy. So, I wrap around existing lines to get where I need to go.
|
AuthorBarri Sue Gaudet designer for Bareroots, stitcher, mom and grandma, friend, hiker, quilt and knitting shop owner, and now, blogger. Archives
|


 RSS Feed